Win11 refill activation instructions
Microsoft’s most recent operating system, Windows 11, features a new interface with rounded corners on windows and a centered taskbar, making it ideal for gaming and multitasking.
If you purchase a new computer today, the operating system that comes with it has to be Windows 11. However, an operating system is often only included with laptops or high-end computers. You will need to purchase an extra one if you choose to construct it yourself.
Win10 and Win11 are identical. A real set costs between 4,000 and 5,000 yuan.com. Naturally, it is ideal to get a genuine set if at all possible. However, you might start with the approach described in this article if money is limited. You truly are competent. You can buy from them again.
This article’s purpose is to address this issue. This post will offer a download for Windows 11. You may begin using the approved Win11 right away as long as you use the download URL and instructions in this post to get it, install it, and enable it!
While this article’s activation of Win11 also makes use of the KMS activation concept, the KMS activation tool is not utilized at all. Rather, the CMD command asks users to type the key immediately to activate, which is really handy!
Compared to Win10, Win11 optimizes the following areas:
- Improved user interface: Windows 11 brings new design features that give a more straightforward, contemporary appearance, such as a revised Start menu, rounded windows, and a centered taskbar.
- Better multitasking: Windows 11 offers improved multitasking, which includes a new feature called Snap that makes it simple to align programs and activate split-screen viewing.
- Smoother and more impressive gaming performance is provided by Windows 11’s optimized gaming features, which include DirectX 12 Ultimate support, automatic HDR, DirectStorage technology, and more.
- Better Microsoft Store: Windows 11 revamps the Microsoft Store to offer a wider range of applications and a more transparent developer community.
- Increased security and privacy protection: Windows 11 adds a number of new security features to increase security and privacy protection, such as virtualization based on trusted execution (VBS) and hardware root secure boot.
Win11 information
- [Name of software]: Windows 11
- [Language used in software]: Traditional Chinese
- (Size of file): 4.38 GB
- [Reduced file size]: ZIP
- [Program included: Windows 11 installation file]
- [System prerequisites]: Windows 11.
- [Location of download]: Click I
Win11 installation steps
STEP 1
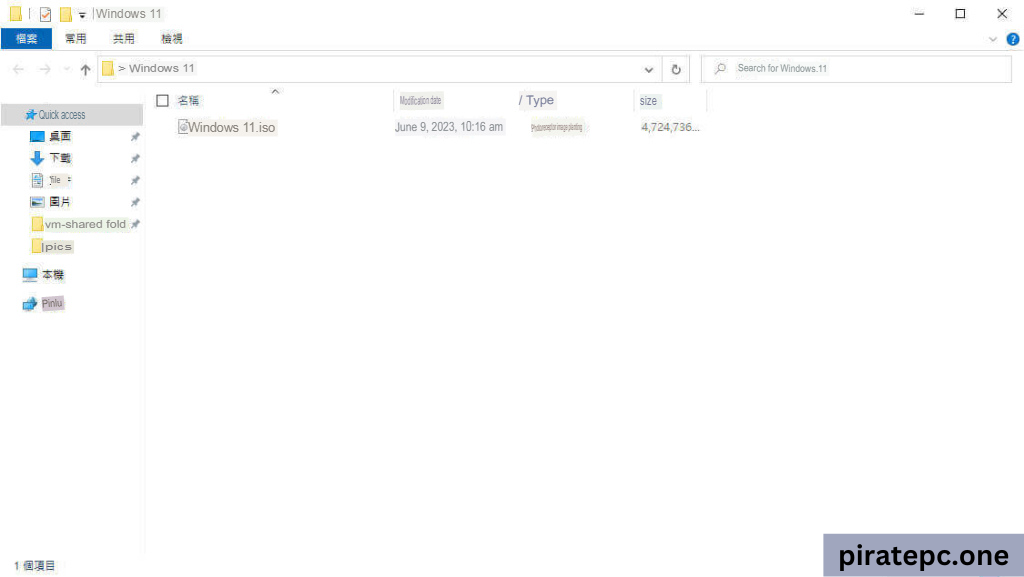
The first step is to use the download link provided in this post to get the Windows 11 ISO image file. Although it will take some time to produce, you may alternatively go to Microsoft’s official website and download the “MediaCreationTool” utility to create the ISO image file yourself. You can do it immediately if you wish to save time. You may grab my created picture file straight at the conclusion of this post. You may use it with confidence because I also obtained it from the official website.
STEP 2
Prepare a flash drive, make a remastered disk (bootable disk) with Rufus or another bootable disk creation application, insert the remastered disk or optical disk into the machine to be remastered, and turn it on.
STEP 3
Place the flash drive inside the empty PC. It normally boots up from the flash drive automatically. The “STEP 5” screen will appear if the operation is successful. If not, you will have to modify the boot sequence by going into the BIOS. Every brand and model has a unique way for accessing the BIOS. No, you can immediately identify your computer brand from the list below, visit the motherboard manufacturer’s official website, and click the button that corresponds to your brand.
How to access the desktop computer’s BIOS:
- ASUS: F2 or Delete
- GIGABYTE: Delete
- MSI: Delete
- Lenovo: F1
- Acer: F2 or Delete
- HP: F10 or ESC
- Dell: F2 or F12
- Intel: F2
How to access your laptop’s BIOS:
- ASUS: F2
- GIGABYTE: F2
- MSI: Delete
- Lenovo: F2 or Fn + F2
- Acer: F2
- HP: F2
- Dell (DELL): F2
- Sony (SONY): F10
- TOSHIBA: Press ESC to display the prompt message and press F1
You can opt to boot from a flash drive by going straight to the boot menu instead of having to access the BIOS to change the boot order.
How to click the Start menu on the desktop:
- ASUS: F8
- GIGABYTE: F12
- MSI: F11
- Lenovo: F12
- Acer: F12
- HP: F9
- Dell (DELL): F12
- Intel: F10
How to get the starting menu on a laptop:
- ASUS: ESC
- GIGABYTE: F12
- MSI: F11
- Lenovo: F12
- Acer: F12
- HP: F9
- Dell (DELL): F12
- Sony (SONY): F11
- TOSHIBA: F12
Using an ASUS desktop motherboard as an example, turn on the computer and keep pressing [Delete] until the screen that follows shows up. The BIOS interface is this.
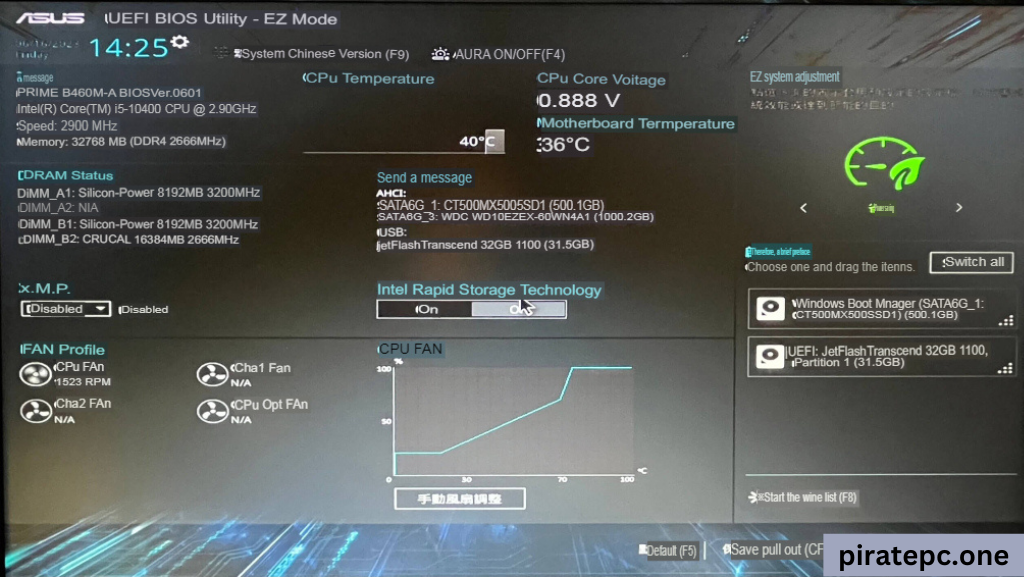
STEP 4
Choose the flash drive device by pressing the [F8 key] on the keyboard.
STEP 5
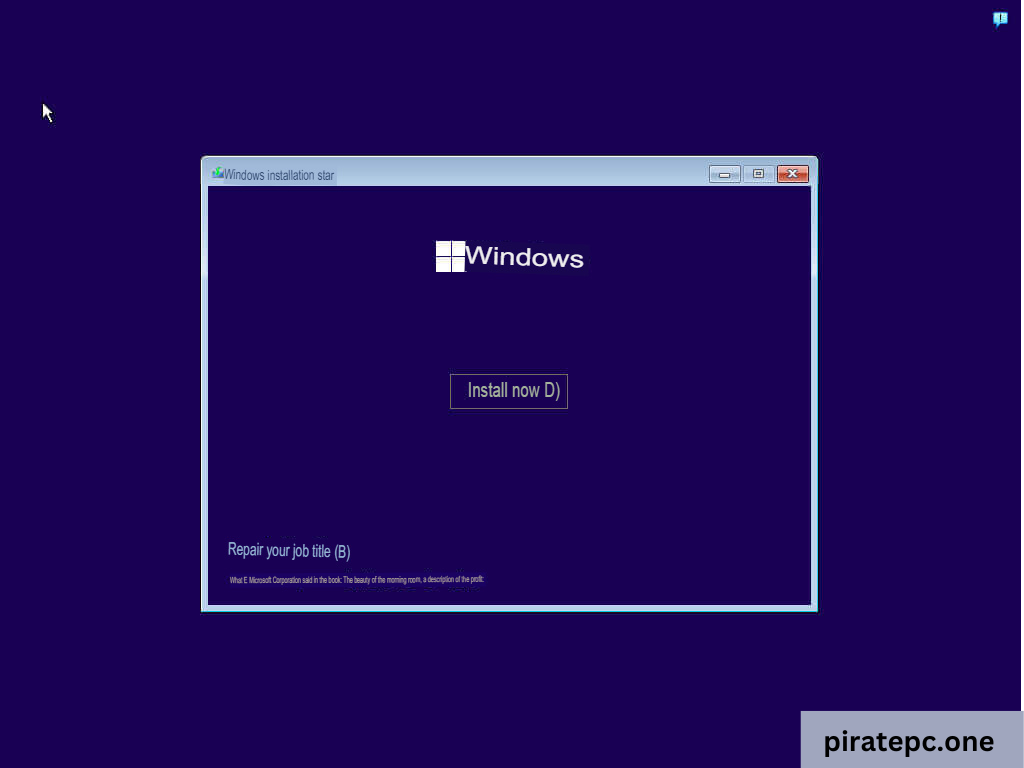
Click [Next] after entering the installation procedure.

STEP 6
Click [Install Now].
STEP 7
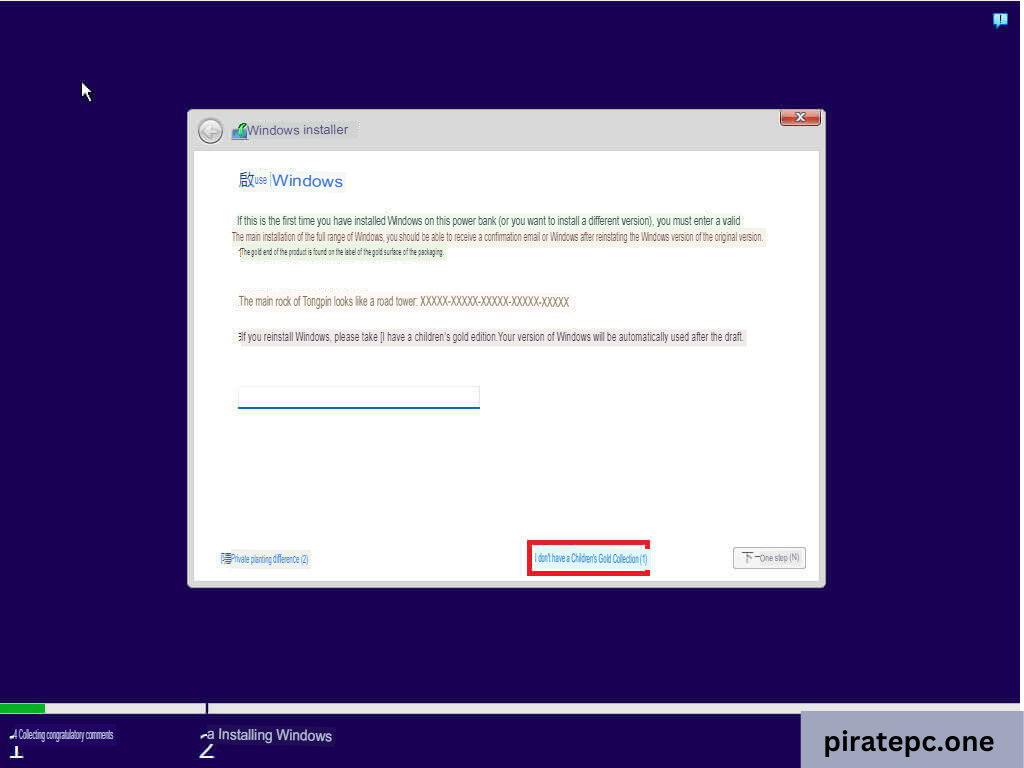
Click [I don’t have a product key].
STEP 8
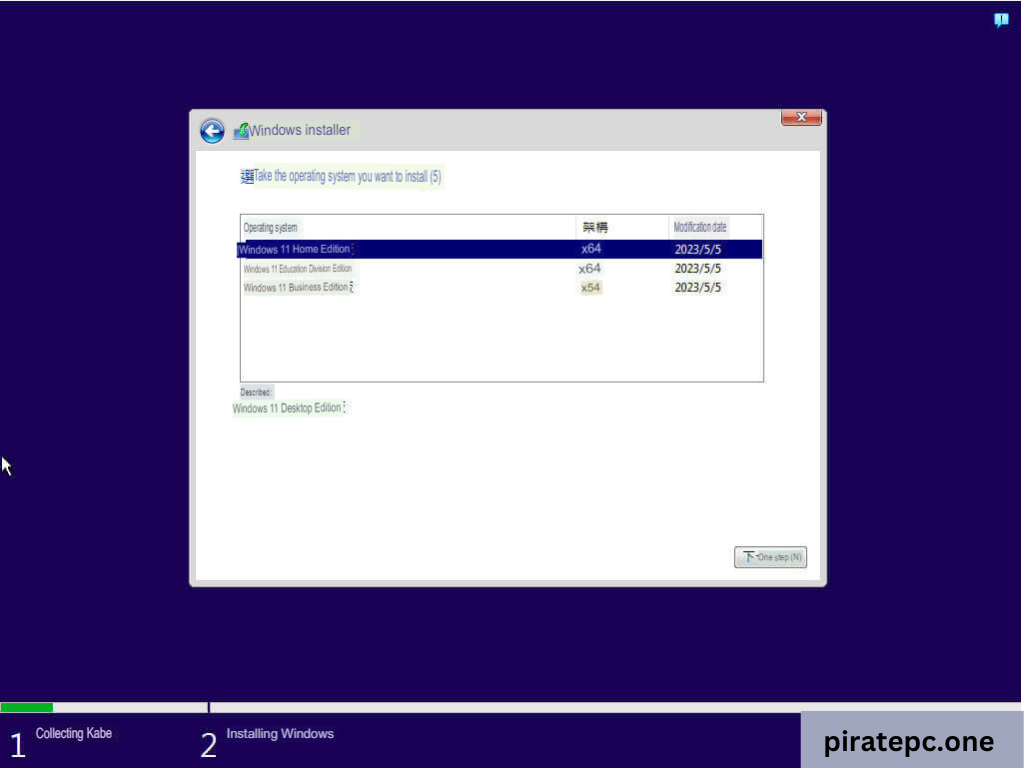
After selecting the version to be installed, click [Next].
STEP 9
Check [I accept the licensing terms] and click [Next].
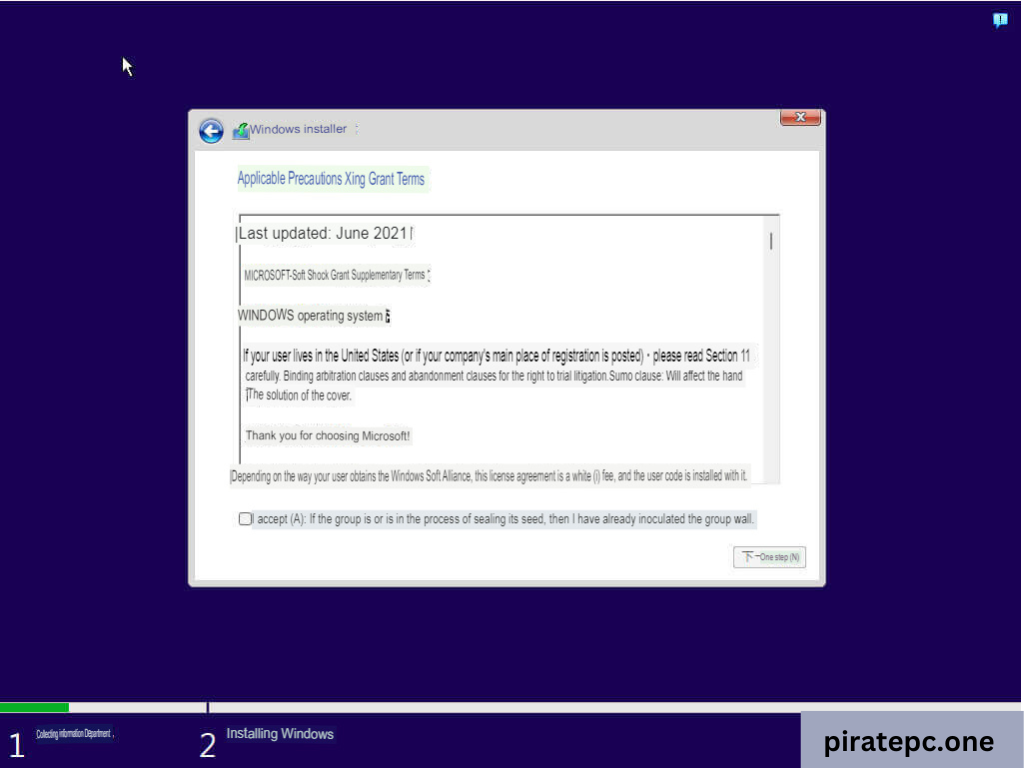
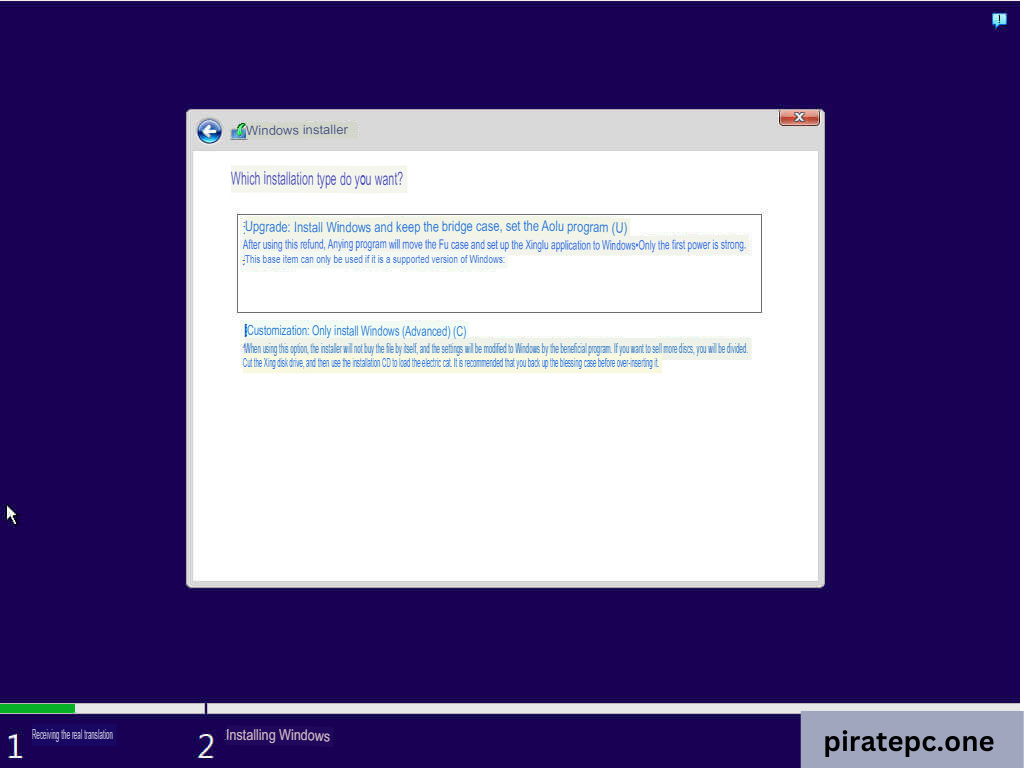
STEP 10
[Customize: Install Windows only (Advanced)] should be clicked.
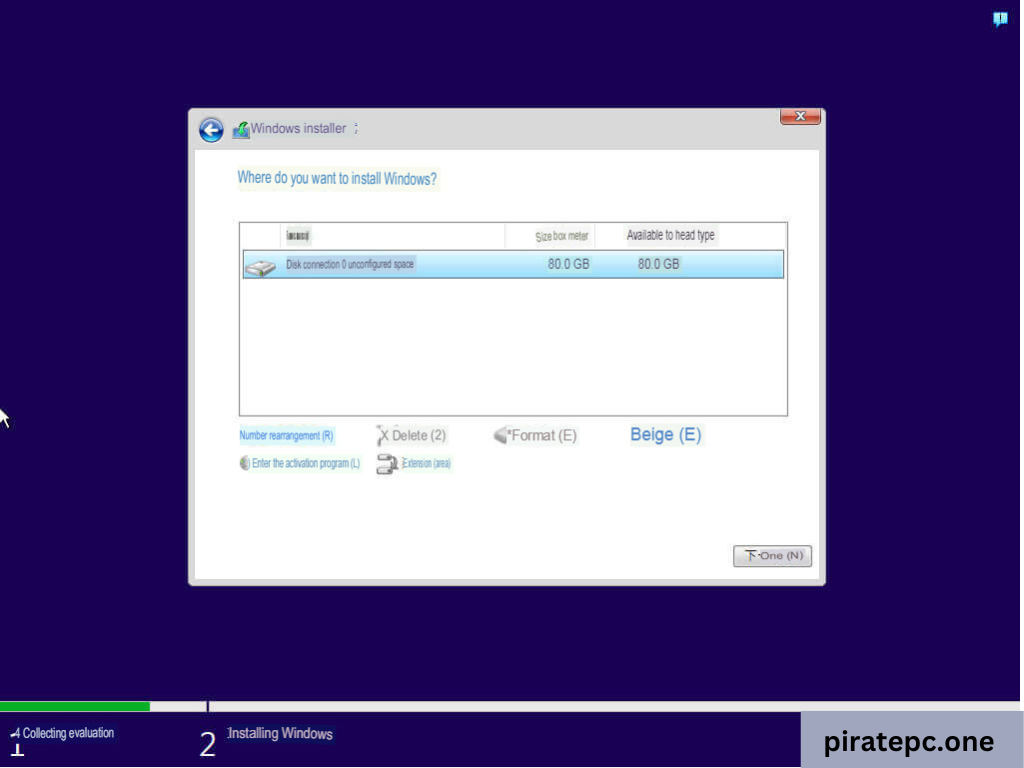
STEP 11
Remember to format the drive before beginning any installation or re-partitioning (make sure you back up any vital data).
Click [Next] once the hard disk to be installed has been chosen.
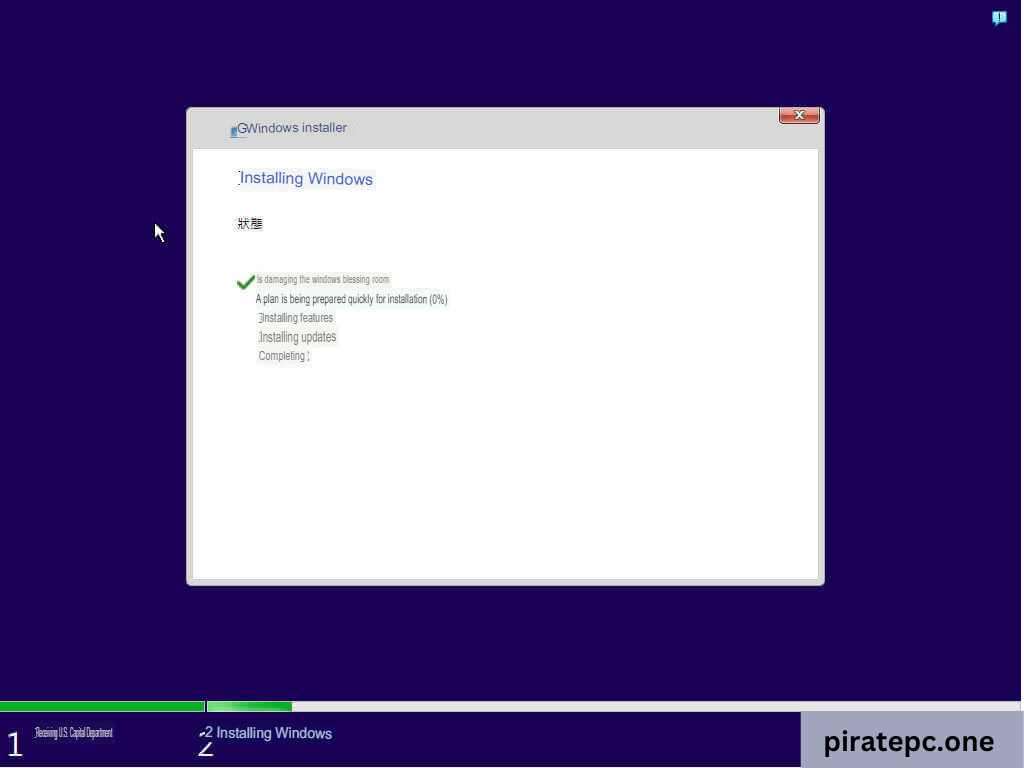
STEP 12
installing.
STEP 13
It will resume on its own after the installation is finished.

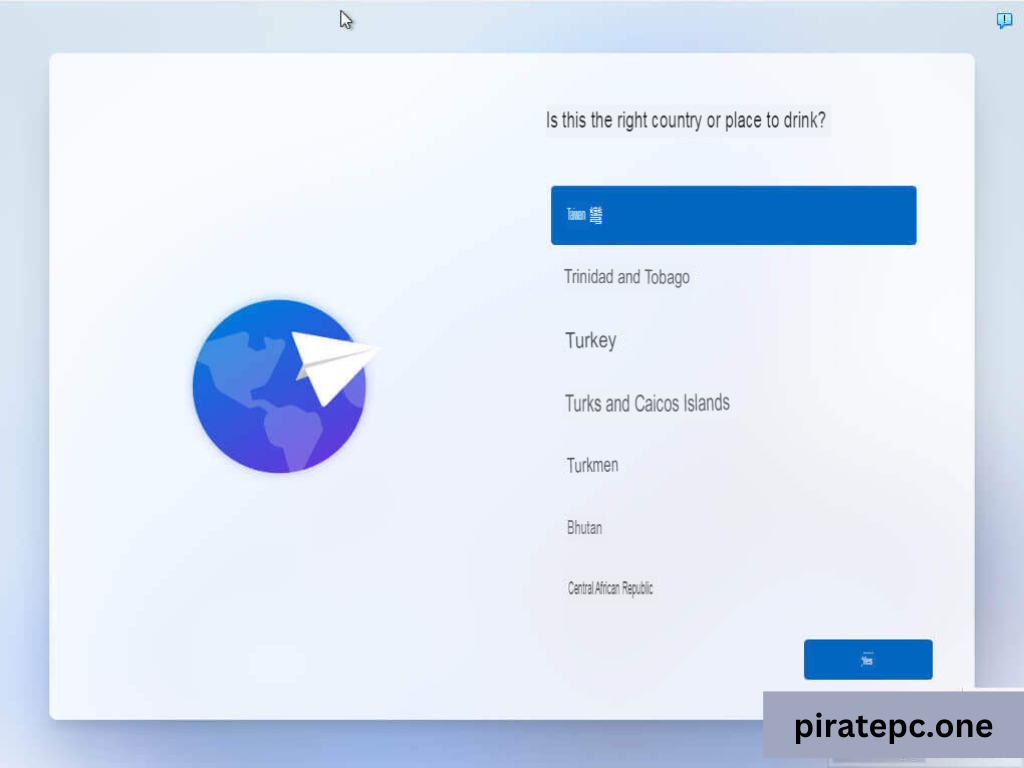
STEP 14
Click [Yes] once the area has been chosen.
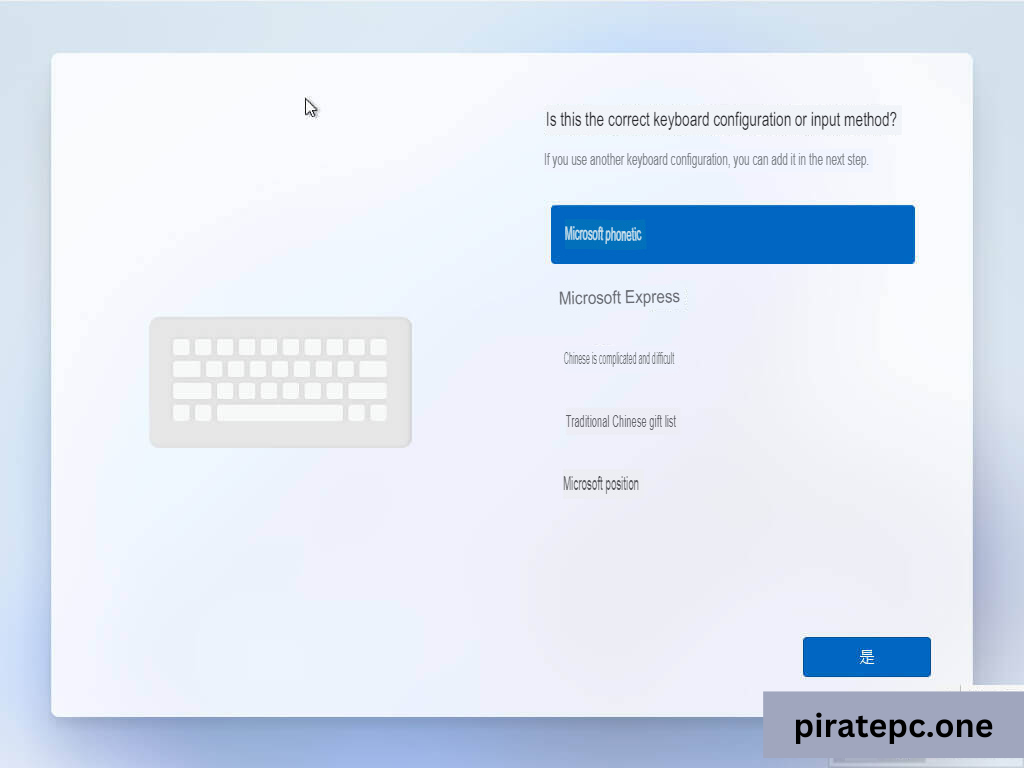
STEP 15
Click [Yes] once the keyboard configuration has been chosen.
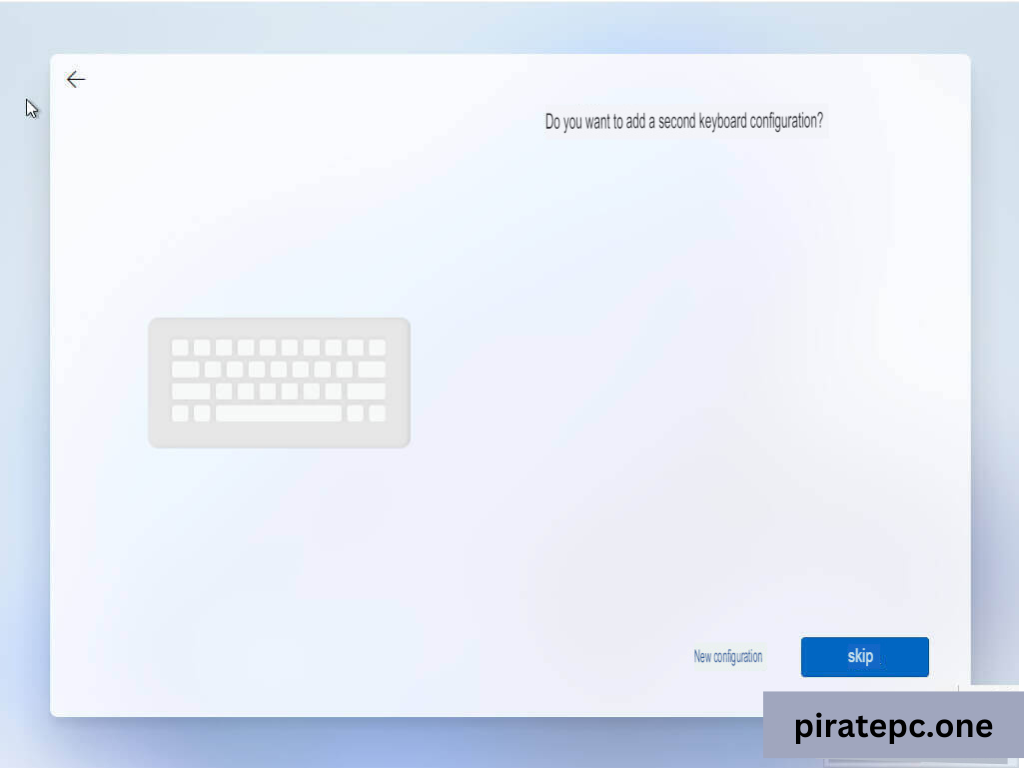
STEP 16
Click [Skip] if you don’t need to install a second keyboard setup.
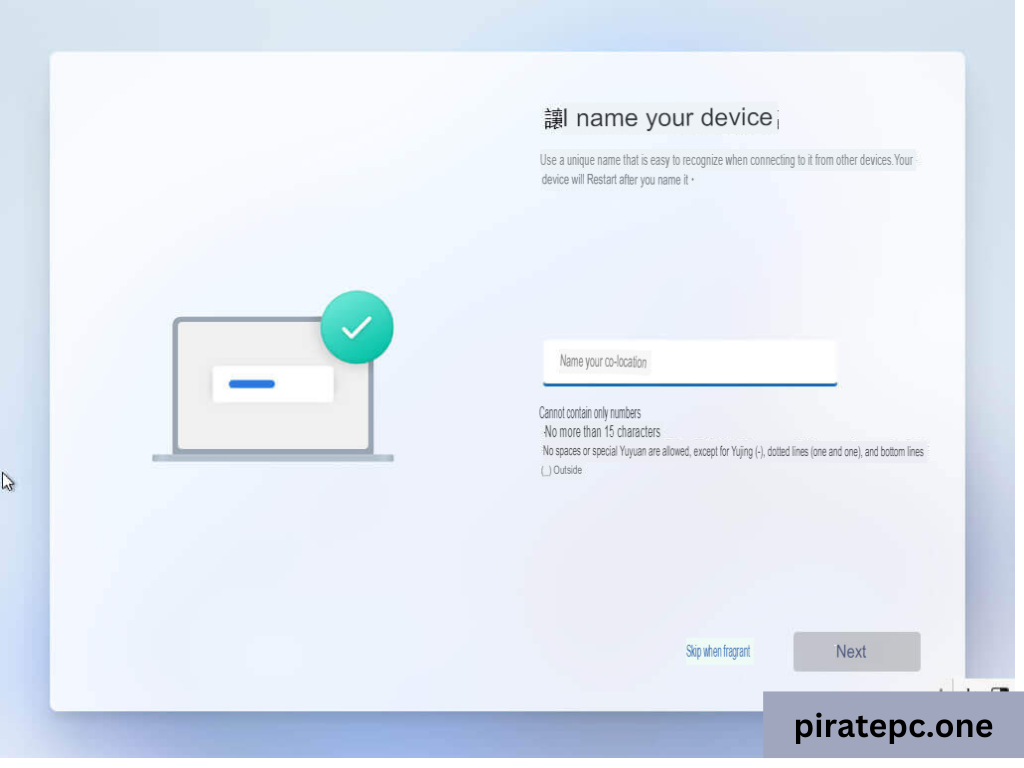
STEP 17
Click [Skip for now].
STEP 18
Click [Login].
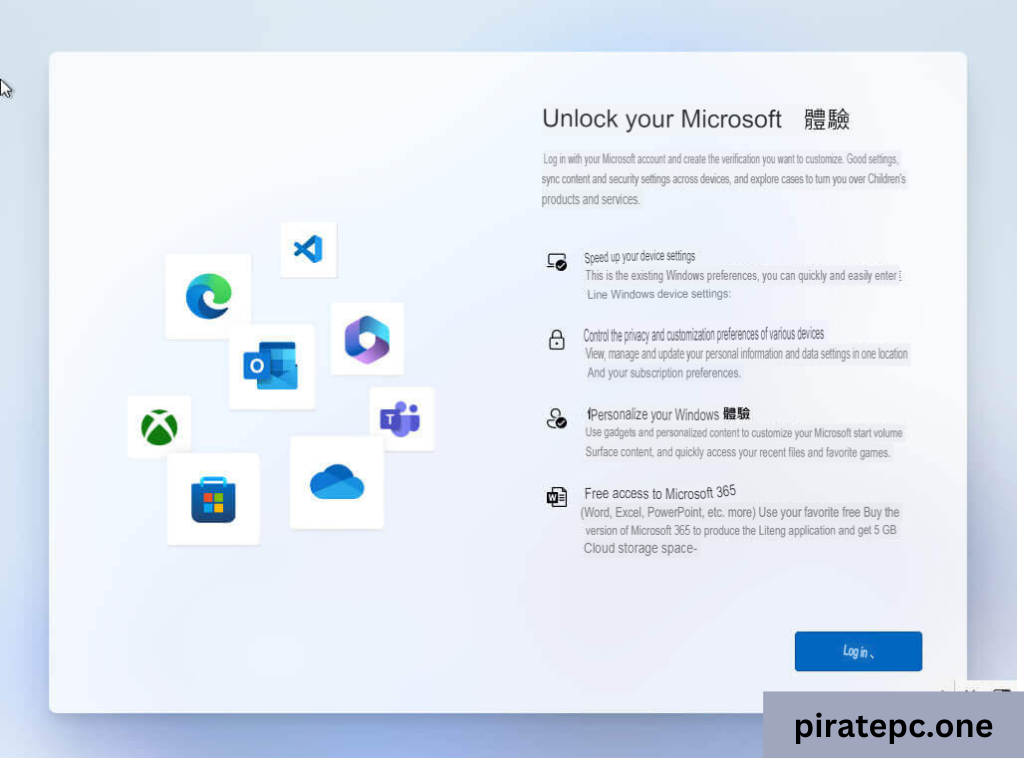
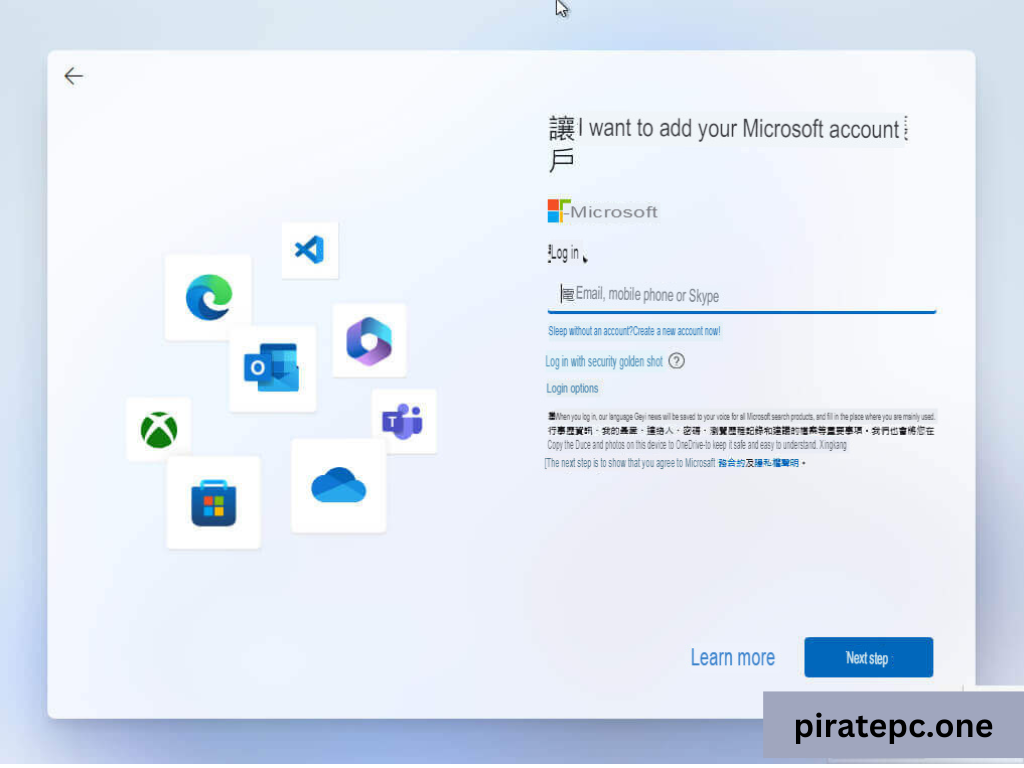
STEP 19
Use your Microsoft account to log in.
You must remove the network cable before logging in with your local account if you wish to avoid using a Microsoft account.
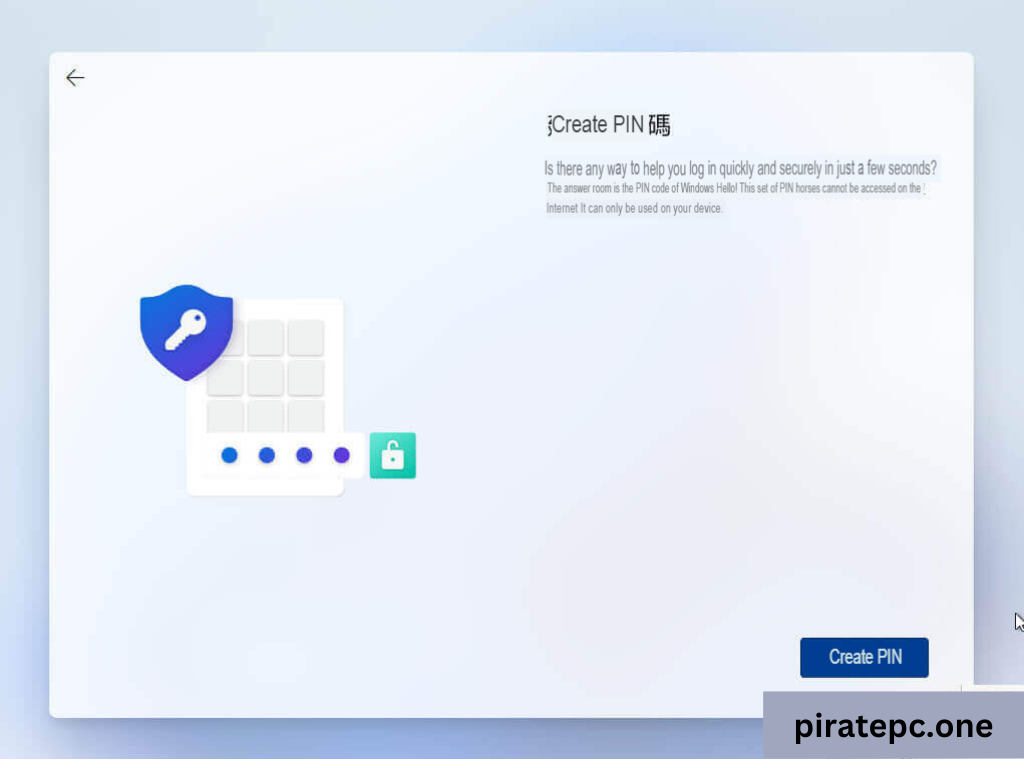
STEP 20
This box will appear if you are logged in with a Microsoft account. Click [Create PIN], which will be your future system login password.
STEP 21
Choose privacy options, then click [Next] when you’re done.
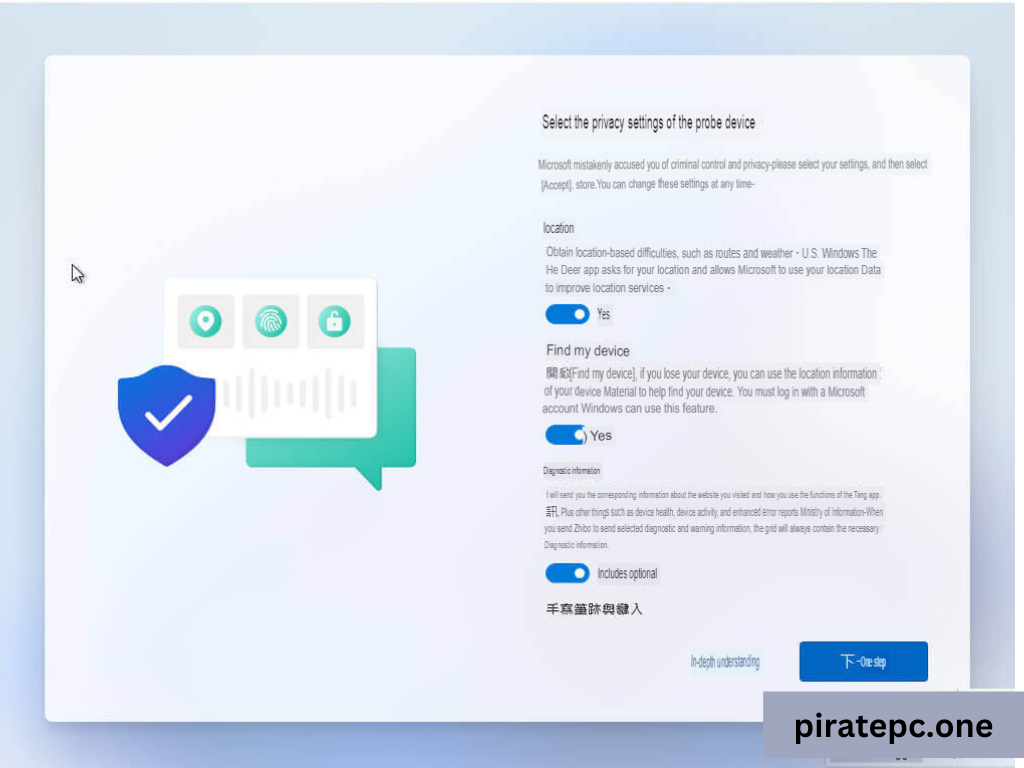
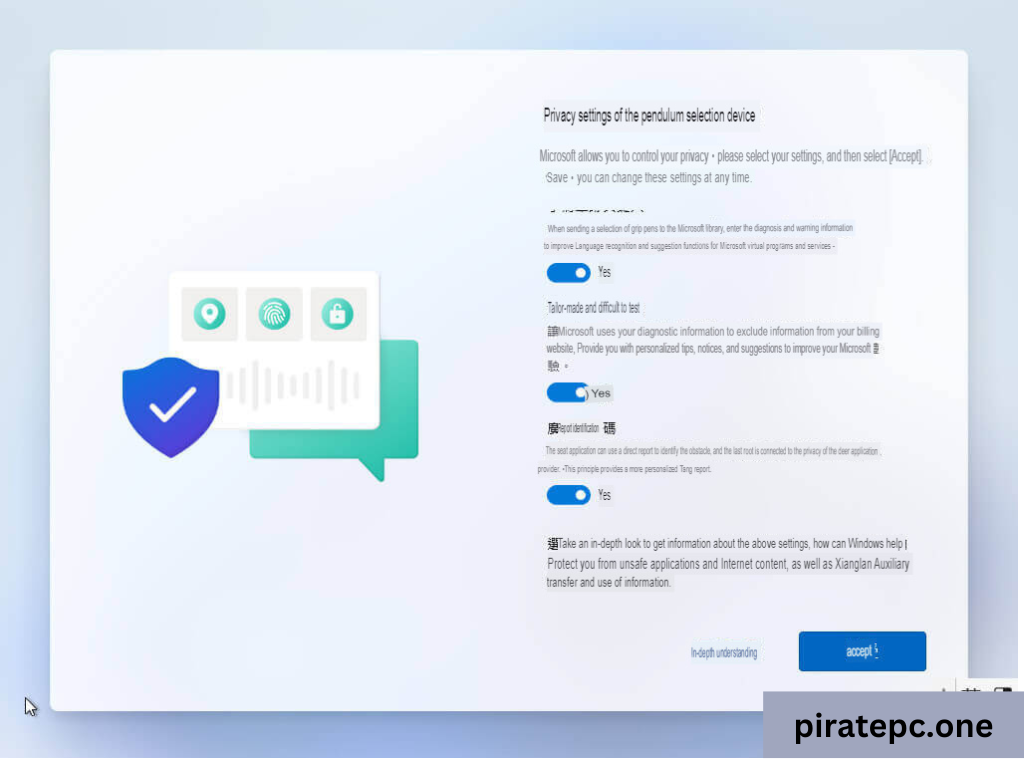
STEP 22
Choose privacy options, then when you’re done, click [Accept].
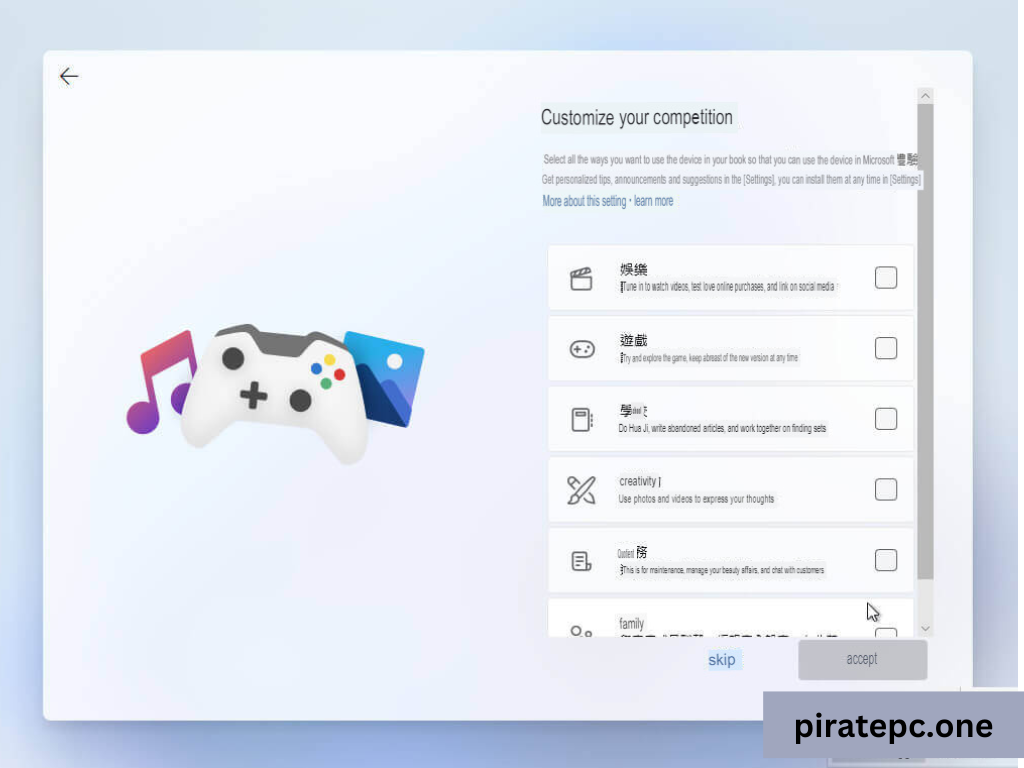
STEP 23
Click [Skip].
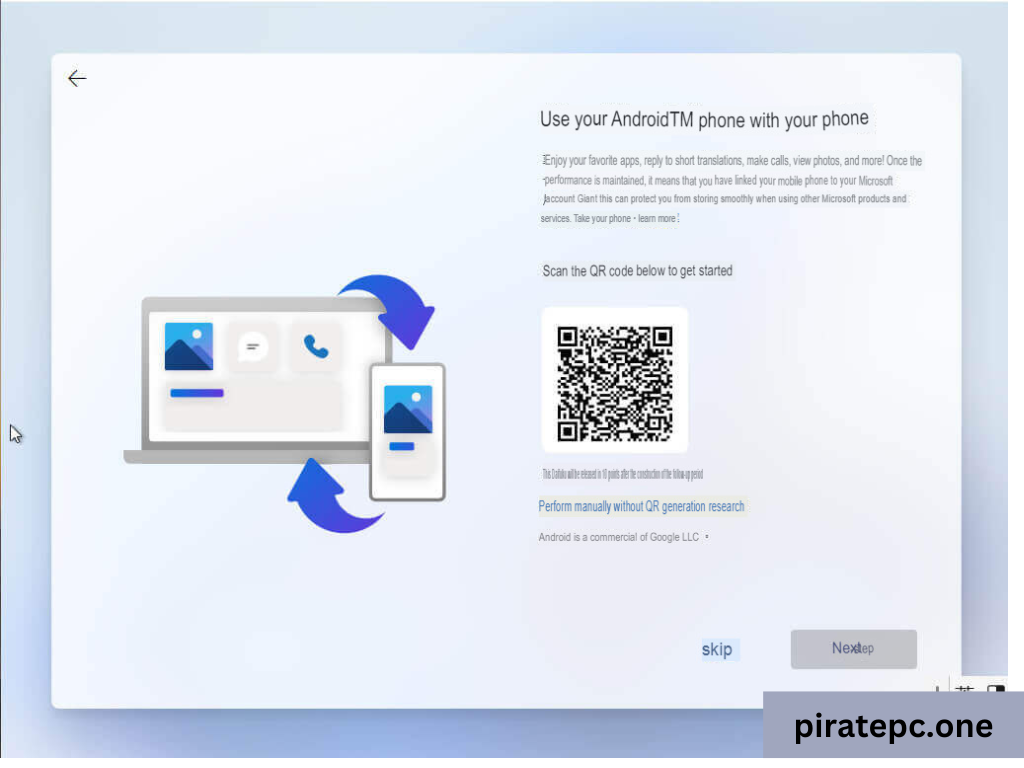
STEP 24
Click [Skip].
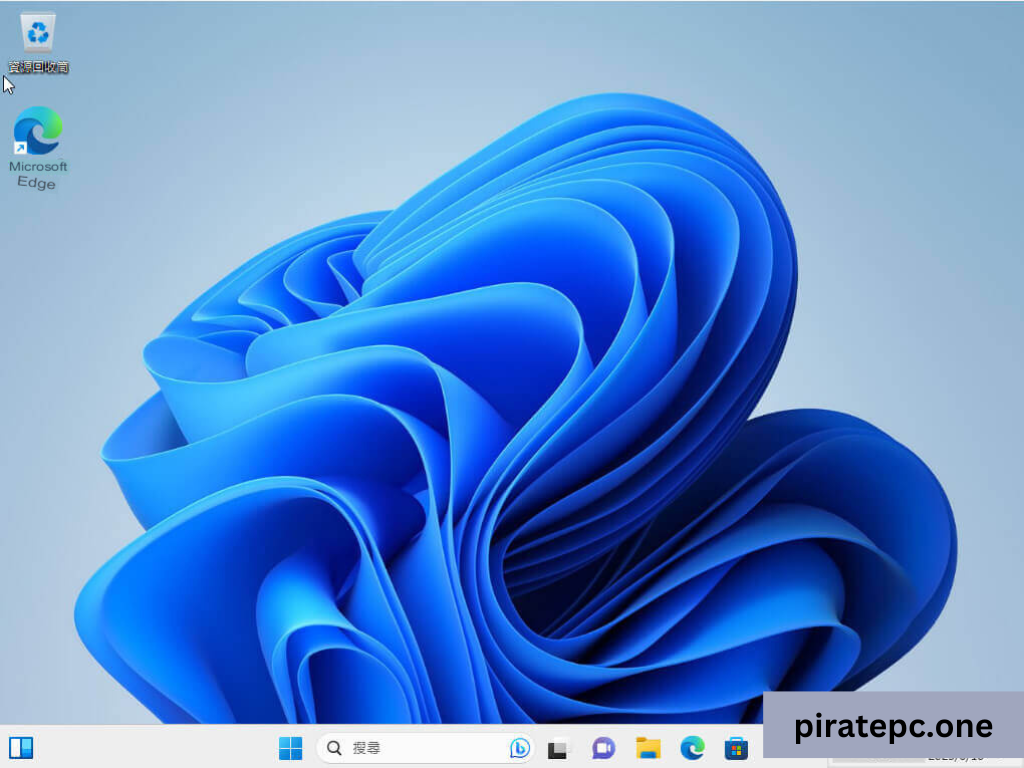
STEP 25
The system is being initialized.

STEP 26
Use KMS to activate the system when you’ve entered it successfully.
Win11 activation steps
STEP 1
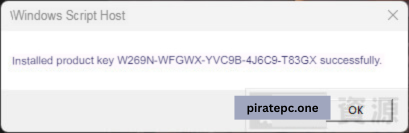
Look for [cmd] in the search field, then press [Enter] after entering [slmgr /ipk W269N-WFGWX-YVC9B-4J6C9-T83GX] and using [right-click] to open [Command Prompt] as a system administrator.

STEP 2
Click [OK].
STEP 26
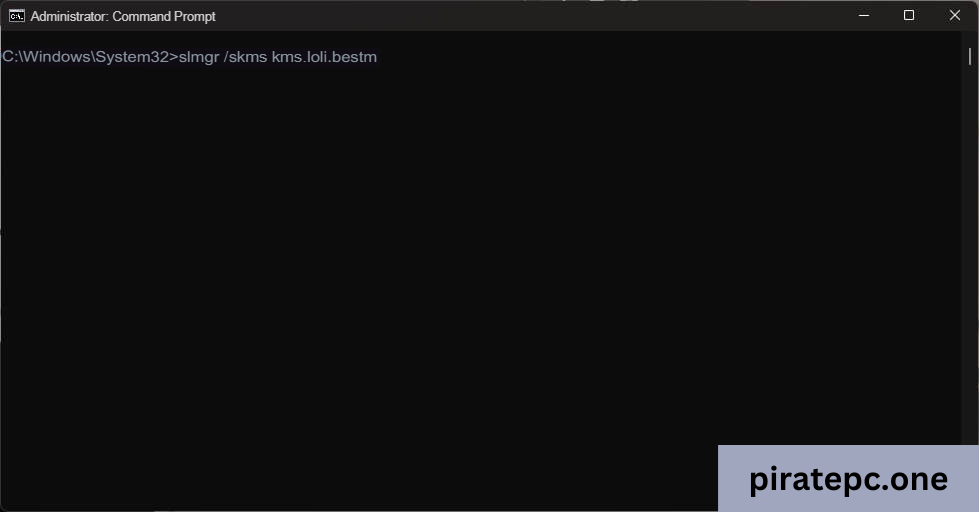
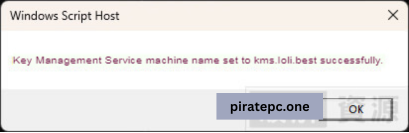
Press [Enter] after entering [slmgr /skms kms.loli.best].
STEP 3
Click [OK].
STEP 4
Enter [slmgr /ato] and press [Enter].
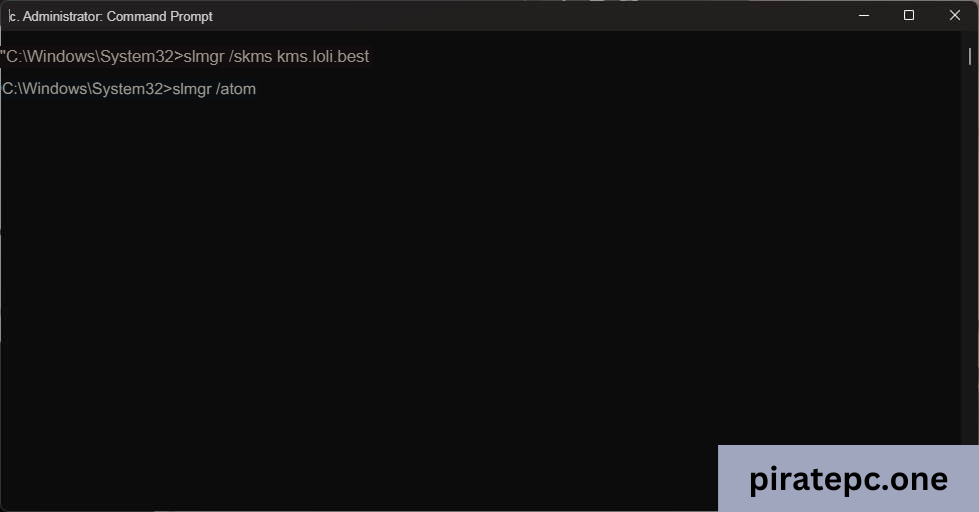
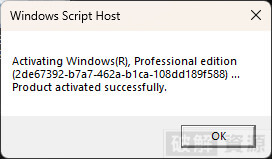
STEP 5
To finish activating the system, click [OK].